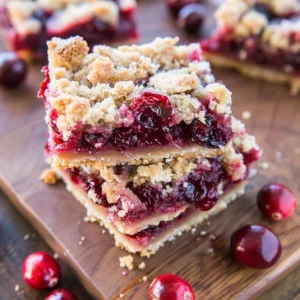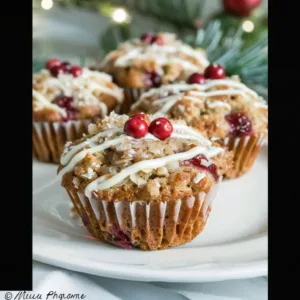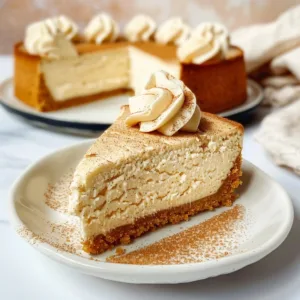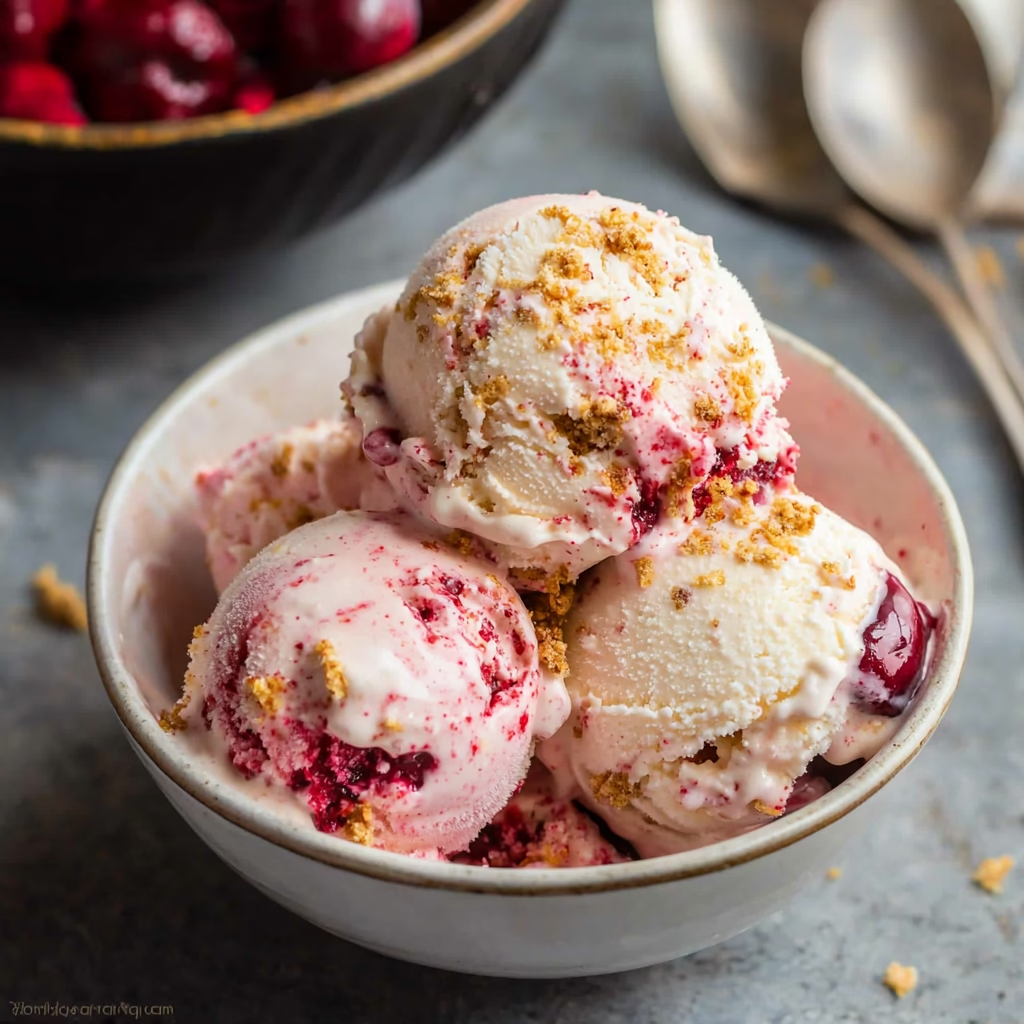
Easy No Churn Cherry Cheesecake Ice Cream is a labor-of-love-meets-modern-convenience dessert that revives the magic of your childhood kitchen. I remember my grandmother’s cherry pie left in the sun as dessert summer nights, the gooey red filling bubbling away with a warm, jus-like texture. This ice cream whispers of that memory, transforming velvety cream cheese into a frozen canvas for cherries that shimmer like childhood moments.
No culinary expertise or kitchen gadget is needed for this creation. It’s easy enough for a busy weekday yet special enough to serve at dinner parties. The absence of a churning machine means fewer tools to wash and more time savoring the vanilla-tinged cream cheese, the tangy bite of tart cherries, and the unmistakable graham cracker crunch that dances on your spoon’s edge.
Let me guide you through the story of this recipe—the one that begins with two bowls, a masher, and the quiet satisfaction of creating something beautiful without heating a pan. The journey brings together tradition and simplicity, proving that sometimes, the most comforting desserts are the easiest to make.
What is Easy No Churn Cherry Cheesecake Ice Cream?
This is a modern reinterpretation of cheesecake, distilled into its purest frozen form. Imagine the luscious cream cheese layer of a traditional dessert, chilled and frozen into a silky, vanilla-rich ice cream base. Swirled within are plump fruits and graham cracker crumbs, balancing the richness with bursts of tartness and earthy warmth.
While my grandmother’s cheesecake required a sunbathed kitchen and days of patience, this version thrives on simplicity and speed. It uses just five ingredients: cream cheese, sweetened condensed milk, heavy cream, cherry pie filling, and graham crackers. The concept marries the No Churn ice cream technique that emerged in the 1960s with classic cheesecake’s flavor profile. What makes it timeless is the way it makes every spoonful feel like a slice of something eternal.
Reasons to Try Easy No Churn Cherry Cheesecake Ice Cream
Besides being a crowd-pleaser, this ice cream is a lifehack for people who crave cheesecake but need a dessert for immediate gratification. It takes only 10 minutes of hands-on work, meaning even a harried parent can make it while billowing curls of steam waft from two pans of leftover casserole in the oven.
The portability of the ingredients is another secret weapon—boxed graham crackers at the drugstore, pre-whipped cream from the dairy case, and paste-like cherry pie filling all conspire to make this dessert accessible. Whether you are energizing a summer picnic with a heap of scoops in a metal cooler or ending a meal with a jumbo-sized serving, this ice cream adapts effortlessly.
Also, it’s a canvas for creativity. While I swear by the classic flavor profile, the basic technique lets you remix it with other pie fillings. But let’s stick to the reds and browns for now—there’s a reason cherry and graham cracker were made for each other in the world of desserts.
Ingredients Needed to Make Easy No Churn Cherry Cheesecake Ice Cream
- 8 oz cream cheese (250 grams, room temperature for a smooth mix)
- 14 oz can sweetened condensed milk (the weight of your condensed memories)
- 1 ½ cups heavy cream (35% fat for silky results)
- ¾ cup cherry pie filling (store-bought or homemade, process gently)
- 6-8 graham crackers (crush them coarsely for texture)
Each of these components carries its own narrative. Cream cheese offers richness and acidity; sweetened condensed milk is the bridge between whispers and decadence. The heavy cream adds texture, while the cherries and graham crackers function like color in a painter’s palette—bold, nostalgic, and unapologetic.
Instructions to Make Easy No Churn Cherry Cheesecake Ice Cream – Step by Step
Step 1: Whisk Base Ingredients
Using an electric mixer, beat the cream cheese until it’s smooth and free of lumps. This is where you’ll feel the kitchen get quiet—just the motor humming and your thoughts falling away. Add the sweetened condensed milk, and continue beating until the mixture is unified in a golden, albeit cool, tone. Scrape down the sides once or twice to ensure you’re working with equal portions, as this step is foundational to the final texture.
Step 2: Whip Cream Separate
In a new bowl, whip the heavy cream until stiff peaks form. Try to see the transition from soft froth to stubborn peaks—the cream will start to hold itself up like storm clouds before the rain. This whipped cream is the airiness in the texture, and I recommend not over-whipping it, or your final ice cream might feel more like a brick of cheese.
Step 3: Fold and Prepare Crush
Gently fold the whipped cream into the cream cheese mixture. Do this slowly, using a spatula motion that will swirl the cream into rich bands like gentle rivers. At this point, the base is set, and it’s time to prepare the graham crackers. Placing them in a zip-top bag, crush them with a rolling pin until they form coarse crumbs. Think of them as rustic granules, not sand. If you can only find graham cracker sheets, hand-crush for better texture.
Step 4: Process Cherry Filling
Place the cherry pie filling in a food processor or blender and run it until the filling is smooth. Occasionally, you’ll notice that the cherries maintain their shape in the ice cream and may turn to icy bits. Smoother filling ensures that your spoon-drops are like velvet.
Step 5: Layer and Swirl
Pour half the cream mixture into a 9×5-inch loaf pan. Drizzle half the cherry filling over it, followed by some graham cracker crumbs, then swirl them in with a toothpick to form ribbons. Repeat this layering, leaving a final, almost architectural swirl at the top for decorative flair. Smell the air as you do this—the scent of cherries mixed with warm spices can almost take you to another kitchen in another time.
Step 6: Freeze and Enjoy
Freeze the ice cream for at least 6-8 hours, or until it reaches a firm consistency. As it complexes in the freezer, the cherries will mellow their brightness a bit, and the graham crackers will take on a subtle moisture. When you serve it cold, the mixture will feel creamy without being icy, and the dark red streaks will simulate the artwork on a dessert table.
Chef’s Tips for a Perfect Result
- Select creamy cream cheese: Full-fat blocks give the silkiness that low-fat or Greek-style alternatives cannot replicate. Brands that don’t add salt are best, since the condensed milk already delivers the necessary sweetness.
- Crush graham cracker to texture: Avoid fine crumbs that behave like flour; a coarse, cereal-like crumbs give better crunch contrast. If you have a food processor, pulse 3-4 times instead of running continuously.
- Chill the base first: If you freeze the layer while it is still at room temperature, large ice crystals can form in your ice cream. Always press the mixture into the pan in a fridge-chilled state.
- Spoon techniques for swirling: Use a rubber spatula to spread the layer gently, then drizzle the cherry filling in a zigzag pattern. Dipping a toothpick or chopstick and “painting” across the top will create excellent swirl dynamics, much like a perfect buttercream on a cake.
Variations and Substitutions
- Vegan Option
: Replace cream cheese with cashew cream (blended cashews, nutritional yeast, and lemon) and use a non-dairy sweetened condensed alternative. While the richness won’t match the dairy version, it will deliver a satisfying layer of plant-based deliciousness. - Gluten-Free Alternative
: Use certified gluten-free graham crackers. Several brands offer these in vegan and conventional versions, ensuring your dairy-free or gluten-conscious guests feel included in the treat. - Low-Carb Version
: Substitute the cherry pie filling with unsweetened cherries and a low-calorie sweetener like Allulose. The sugar content will be reduced, but the texture—if balanced carefully—can still satisfy a cheesecake craving. - Budget Swap
: Use store-brand condensed milk at half the price, or consider a substitution like evaporated milk and regular sugar for a slow-sweetened effect. The texture might be slightly denser, but it remains excellent for crumb swirls and layered ice cream servings.
How to Serve and Pair
This ice cream is best served in loved calcium-rich bowls garnished with premium chocolate shavings or a dusting of cherry powder. For a nostalgic angle, serve it in a cone of warm graham cracker broken with your hands—this kind of moment is best paired with movies on the porch and a sturdy wick of a candle in the corner.
Pairings to consider: a cup of strong Greek coffee to cut through the richness, or a glass of tart cherry juice. For an elevated experience, drizzle with bittersweet chocolate sauce to taste like a more grown-up version of childhood summer.
On presentation tips, the best way is to scoop fresh out of the freezer, letting the slices show off their layered beauty. If you want a restaurant-style look, consider using a melon baller or spatula to shape perfect mounds with a checkerboard of swirls at the top.
Storage and Reheating
Refrigerator
After whipping the ice cream and layering it in the loaf pan, it can sit in the refrigerator for up to 24 hours before freezing. Wrap the pan tightly in plastic wrap to maintain a creamy texture and avoid absorbing off-odors from the rest of the fridge’s contents.
Freezer
Once fully set (about 6 hours), store leftovers in an airtight container in the freezer. While the texture will still be smooth, you can expect some minor changes over time—like what happens to your favorite blanket when you leave it in the dryer too long. To keep the creaminess of the base, re-freeze for 24 hours before serving again.
Room Temperature
Limit to 1 hour at room temperature for best taste and texture. Excess heat can cause the milk fat to solidify, making the ice cream greasy when the temperature rises too high.
Reheating
There is one simple way to “reheat” this ice cream: let it sit out in the kitchen for 10-15 minutes to start softening. This gives you an ice cream with more scoopable texture without melting. Avoid using a microwave, which will destroy the layer structure and create rubbery patches in the cream cheese base.
Nutritional Values
- Calories: 474
- Protein: 7g
- Carbohydrates: 59g
- Fat: 23g
- Fiber: 2g
Approximate values.
Frequently Asked Questions
What can I substitute for cherry pie filling?
You can use other fruit-based pie fillings like peach, blueberry, or apricot. Process them gently to avoid over-blending and to retain a painterly texture in your ice cream. The tartness and brightness of these fruits will complement the cream cheese just as well.
How do I know when the ice cream is done?
The ice cream is done when it is firm around the edges and holding its shape in the pan. You should be able to scoop it without it being too soft. When pressed with a finger, it should indent slightly but spring back without dripping, leaving a faint footprint in the whipped cream layer.
Why is my ice cream icy or grainy?
Icy texture often results from over-whipping the cream cheese. To avoid this, keep the mixture cold, and make sure all ingredients are chilled before mixing. Graininess is usually due to undersweetened condensed milk or using room-temperature cherries that sludge the texture later. Check that all components are at room temperature only if instructed.
Can I make this in advance?
Yes! Freezing in advance is actually encouraged. For best results, prepare the layers and freeze for 6-8 hours before serving the next day. This time also allows the flavors to turn into a symphony of depth and interplay, much like freezing a cake overnight can enhance its moisture retention.
What is the best way to customize this ice cream?
Customization is as easy as layering. Try adding chopped nuts (walnuts or pecans for a nutty crumble), a pinch of cinnamon in the cherry filling, or cocoa powder for a bittersweet twist. For a festive touch, use a dollop of vanilla swirl on top or a cascade of sliced cherries like an anchor for the swirl.
Conclusion
Easy No Churn Cherry Cheesecake Ice Cream is your secret weapon for bringing treasured traditions into the 21st century kitchen. Made with five simple ingredients and no effort beyond mixing, it becomes a signal of when culinary simplicity translates directly to taste.
Press the layers into the pan as you did with your first attempts at baking, and allow the freezer to do its ancient, slow cool. The result is not just a dessert, but a feeling—warm, familiar, and filled with the kind of comfort that never fades with time.
Print
Easy No Churn Cherry Cheesecake Ice Cream
- Prep Time: 10
- Total Time: 10
- Yield: 8 servings 1x
- Category: desserts
- Method: Freezing
- Cuisine: American
- Diet: Vegetarian
Description
Indulge in a creamy, no-churn cherry cheesecake ice cream that captures the nostalgia of classic desserts. This easy, no-churn recipe blends rich cream cheese, sweetened condensed milk, and fresh cherries with graham cracker crunch for a frozen treat that feels like a summer memory. Perfect for any occasion.
Ingredients
8 oz cream cheese, softened
14 oz sweetened condensed milk
1 cup heavy cream
1 (21 oz) can cherry pie filling (no alcohol)
1 cup graham cracker crumbs
Instructions
In a large mixing bowl, beat cream cheese and sweetened condensed milk until smooth.
Gradually whip in heavy cream until stiff peaks form.
Fold in graham cracker crumbs and half of the cherry pie filling until evenly distributed.
Transfer the mixture to a freezer-safe container.
Using a spoon, swirl in the remaining cherry pie filling.
Cover and freeze for at least 4 hours, or until firm.
Notes
For best results, let the mixture come to room temperature slightly before freezing for a smoother texture.
Substitute store-bought graham crackers for homemade if desired.
Store leftovers in an airtight container in the freezer for up to 2 weeks.
Nutrition
- Serving Size: 1 scoop (about 1/2 cup)
- Calories: 420
- Sugar: 45g
- Sodium: 220mg
- Fat: 28g
- Saturated Fat: 18g
- Carbohydrates: 50g
- Fiber: 1g
- Protein: 5g
- Cholesterol: 85mg